Upload Audio
The Upload Audio feature allows users to upload existing audio files from their device for processing directly within the app. Once uploaded, the audio file is handled the same way as a live recording — including language selection, AI-generated summaries, notes, or transcriptions.
This feature is especially useful for users who already have recordings from meetings, interviews, lectures, or other events, and want to analyze or extract information without re-recording.
Key Benefits:
- Supports various popular audio formats
- Powerful AI processing: summarization, transcription, and note creation
- Simple and intuitive upload process
- Advanced customization options for summary style, writing tone, and processing focus
1. UI/UX Specification
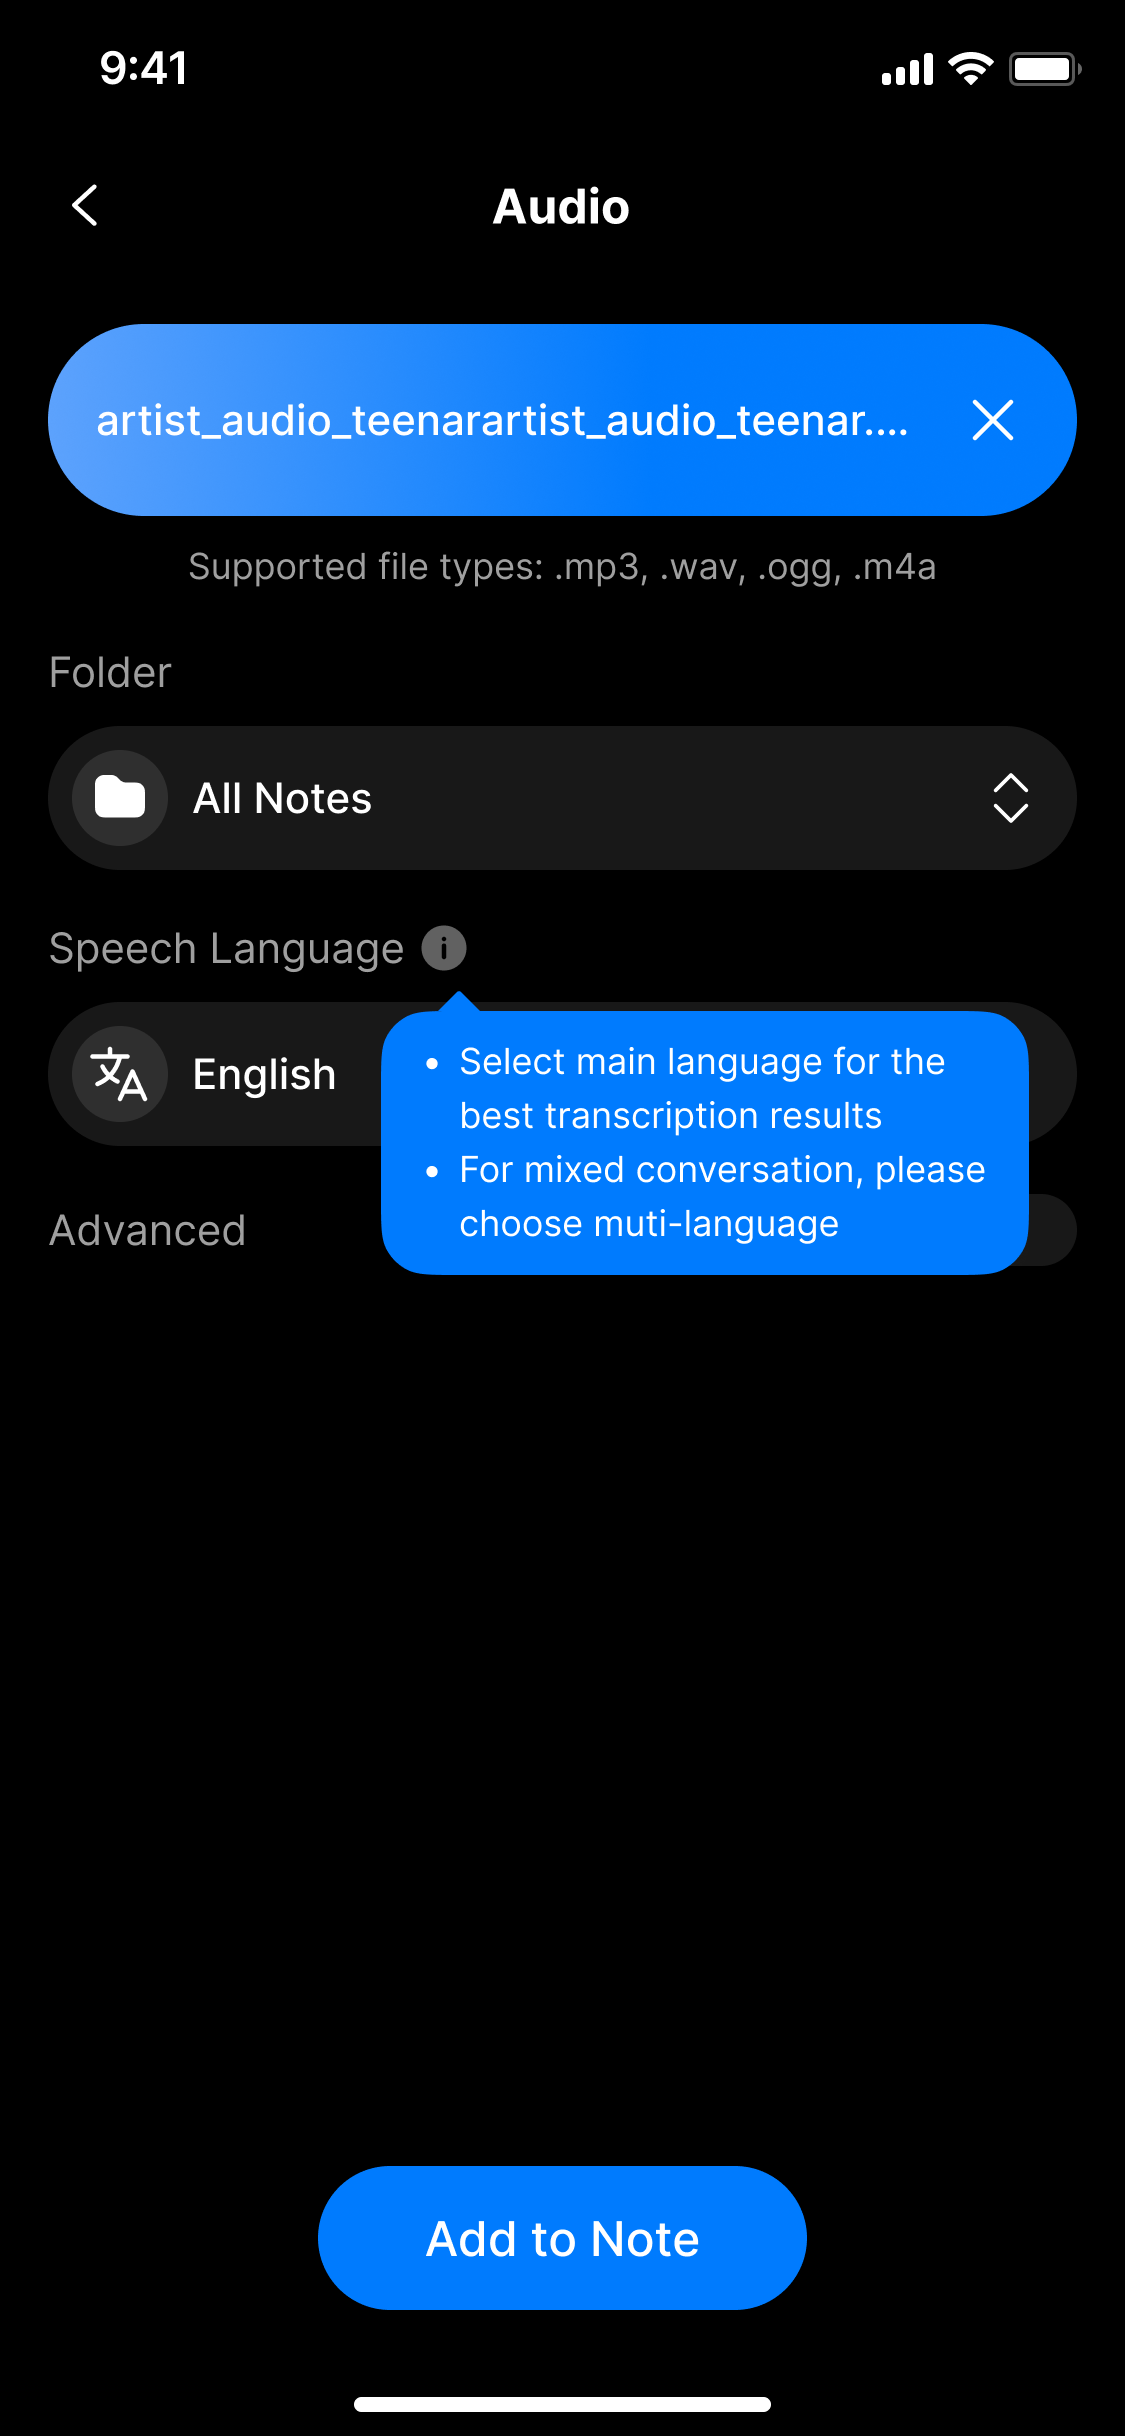
UI specification create audio file screen
How to access the Upload Audio screen
From the main screen, tap the Audio section to open the upload interface.
Screen Components
| Component | Type | Description |
|---|---|---|
| Upload Interface Entry | Button / Tab | Opens the interface to upload audio from the device |
| File Picker Button | Button | Opens the device's file browser |
| File Display Area | Text | Displays the name of the selected file if valid |
| Error Message | System Notice | Warns when file exceeds size or uses unsupported format |
| Speech Language Selection | Dropdown | Required: Choose the language spoken in the audio file |
| Advanced Settings Toggle | Toggle | (Optional) Enables advanced AI configuration |
| Summary Style | Dropdown | Choose summary tone (Balanced, Factual, Creative...) |
| Writing Style | Dropdown | Choose writing tone (Neutral, Professional...) |
| Additional Instructions | Text Input | (Optional) Enter specific instructions for AI to follow during processing |
2. How to Use
Step 1: Open the upload interface
From the main screen, tap the Audio tab to access the upload section.
Step 2: Choose an audio file
Tap the upload area to open the device's file picker.
Select a file that meets the supported format and size requirements.
Supported formats:
.mp3,.wav,.aac,.m4a,.ogg,.flac,.wma,.aiff,.alac,.opus
Maximum file size:10MB
⚠️ If the file is invalid, the app will show:
“The file exceeds 10MB. Please select a smaller file.”
Step 3: Confirm selected file
Once a valid file is chosen, its name will appear on the screen.
You can reselect if needed.
Step 4: Select the spoken language (required)
Choose the correct spoken language to ensure accurate AI processing.
Step 5: (Optional) Enable and configure advanced settings
If desired, enable Advanced to adjust how AI handles the content:
- Summary Style: Balanced, Creative, Factual...
- Writing Style: Neutral, Professional, Informal...
- Additional Instructions: e.g.,
"Summarize this meeting with clear action items"
Step 6: Confirm and process
Tap the confirm button to upload the file.
The system will begin processing just like it would with a live recording.
3. Notes & Tips
- Only local files on your device are supported — cloud services like Google Drive or iCloud must be downloaded first
- You can upload one file at a time
- Files over 10MB will be rejected — please trim or compress if needed
- Make sure to select the correct spoken language for best AI results
- Use Additional Instructions to customize how you want the AI to interpret or summarize your audio
4. FAQ
What audio formats are supported?
.mp3, .wav, .aac, .m4a, .ogg, .flac, .wma, .aiff, .alac, .opus
What happens if my file exceeds 10MB?
You’ll see the following message:
“The file exceeds 10MB. Please select a smaller file.”
Please trim or compress the file and try again.
Can I upload multiple files at once?
No. The system only supports one file per upload.
Can I upload from Google Drive or iCloud?
Not directly. Please download the file to your device first before uploading.
Can I upload files without an internet connection?
No. This feature requires an internet connection for uploading and AI processing.